-

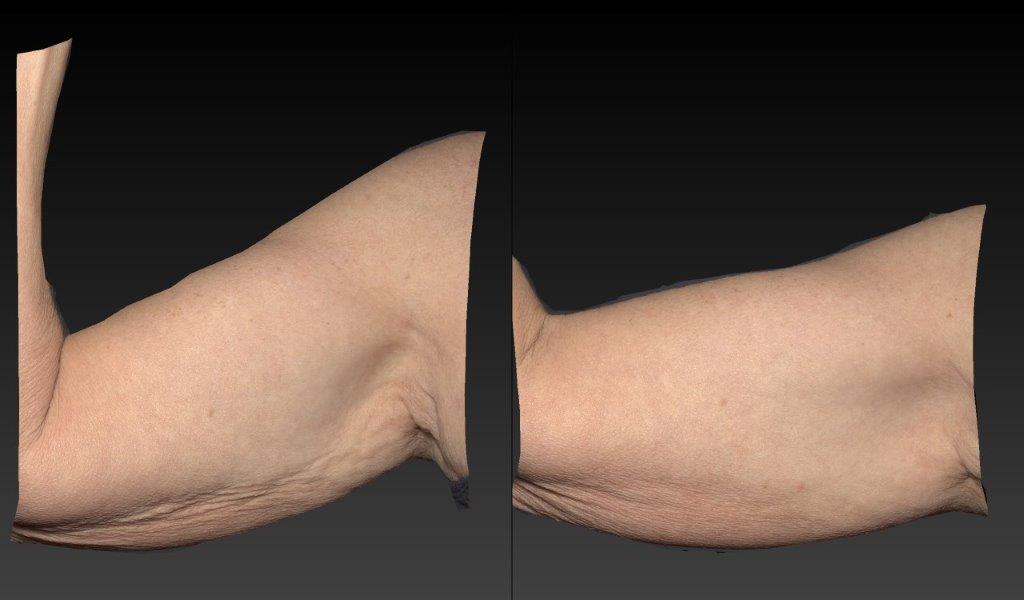
- Arms
-
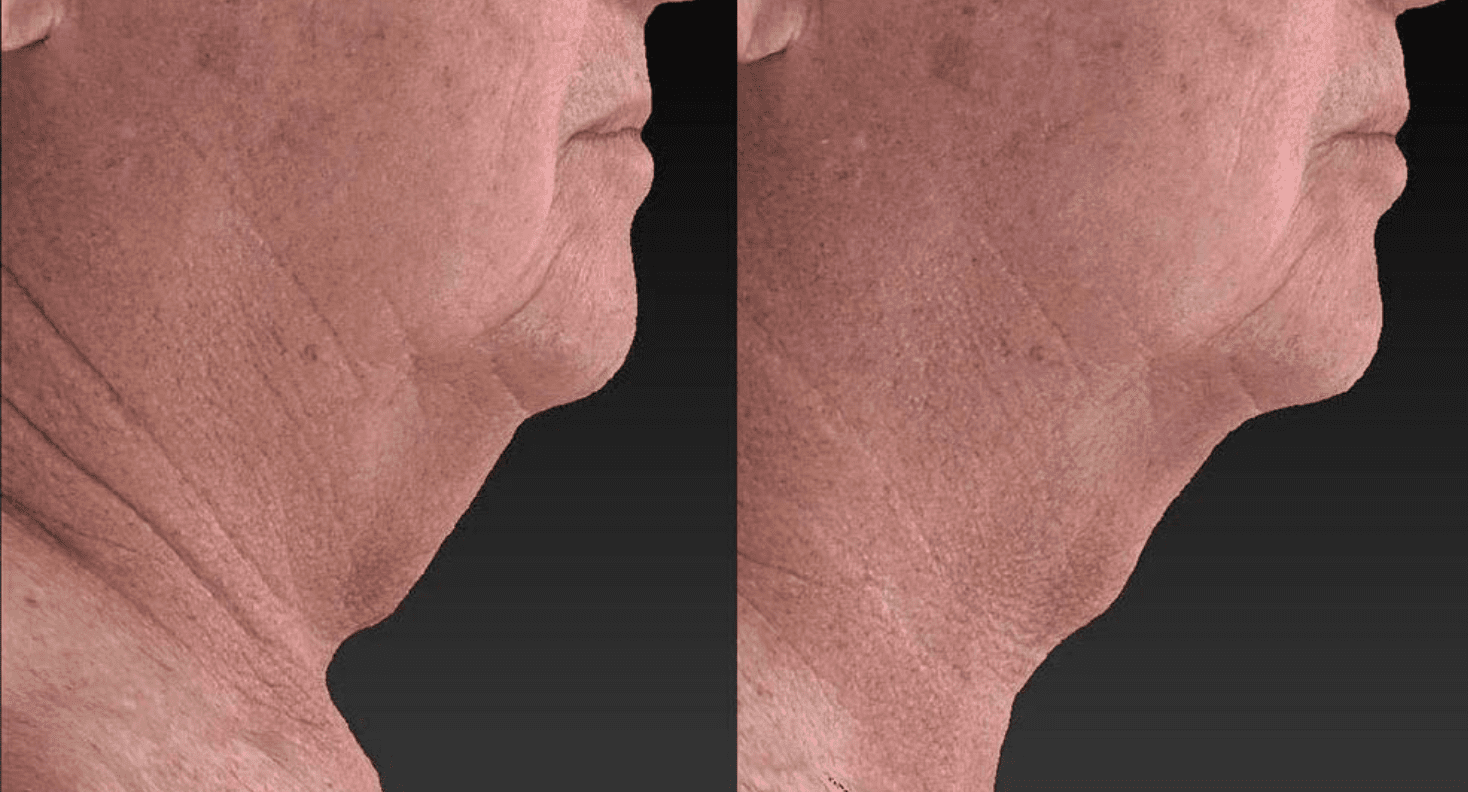
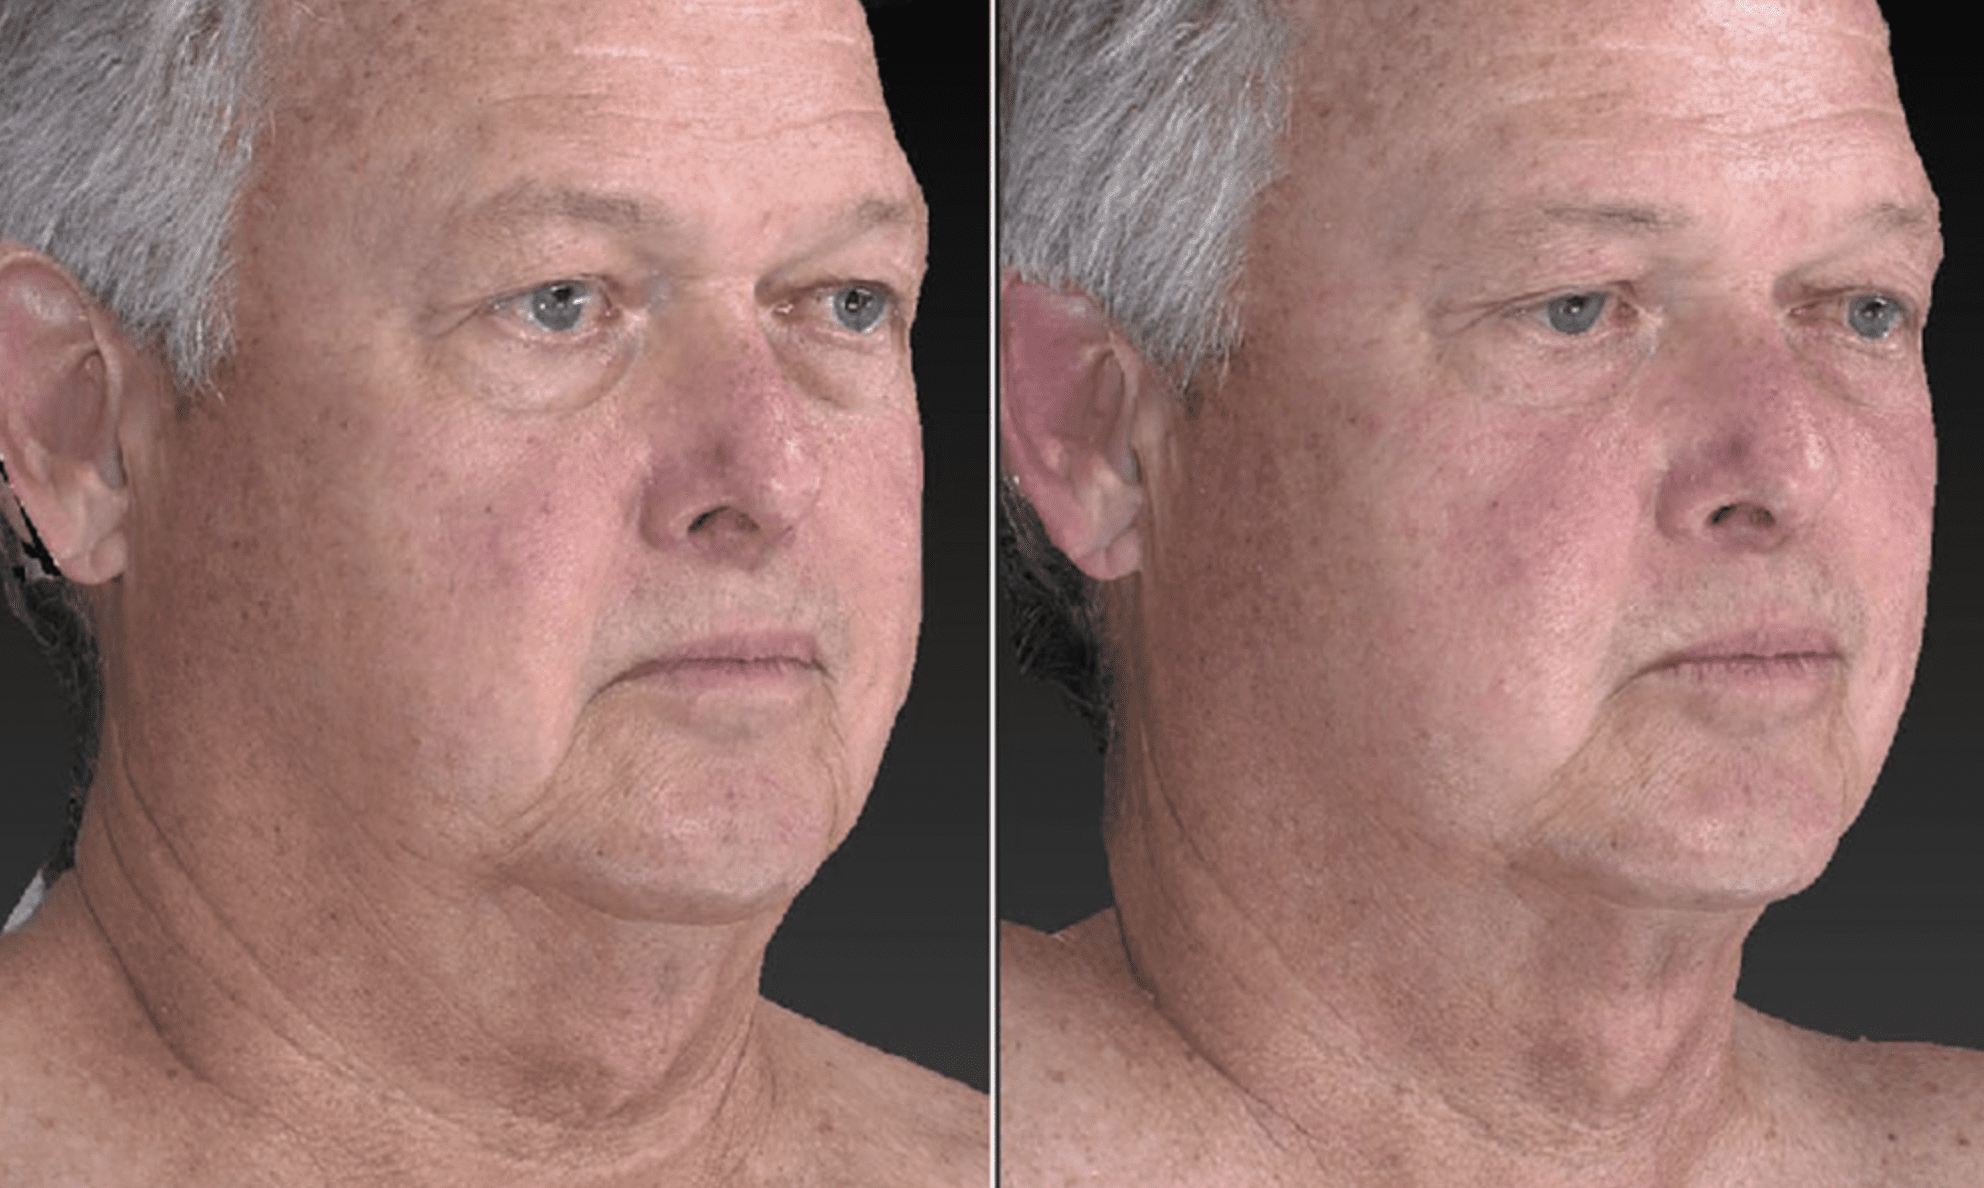
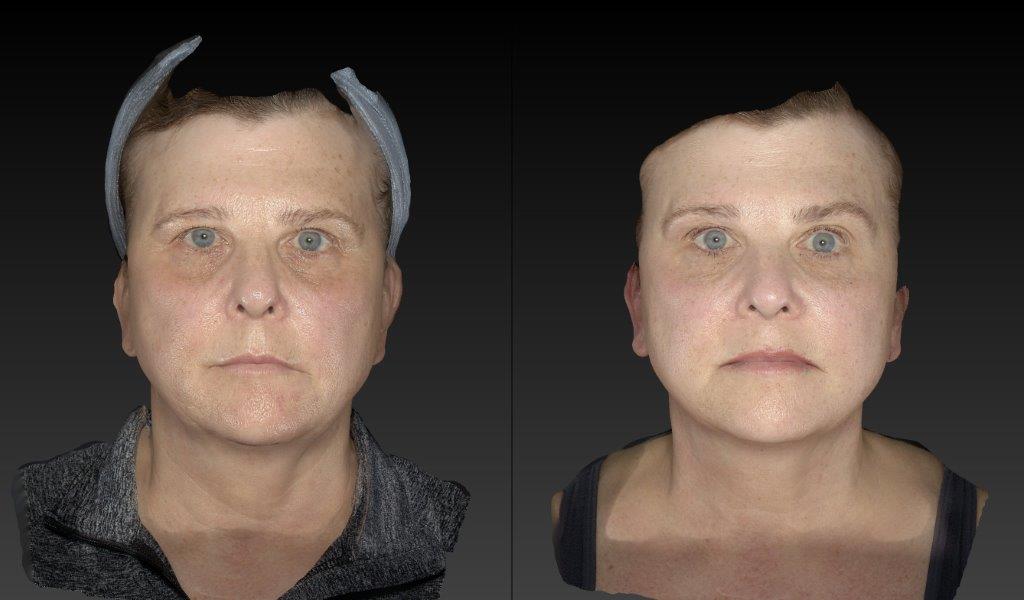
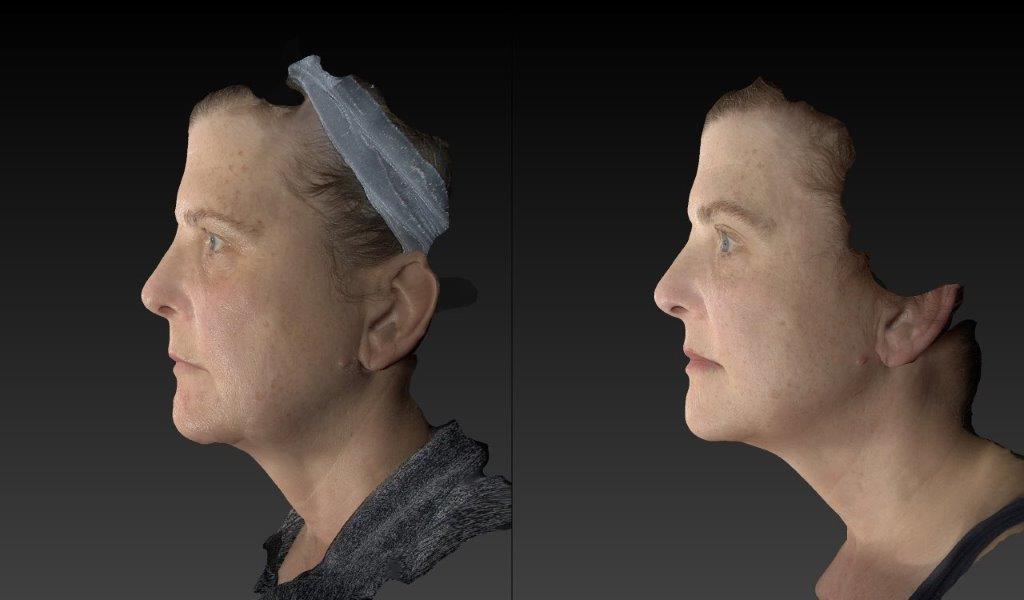
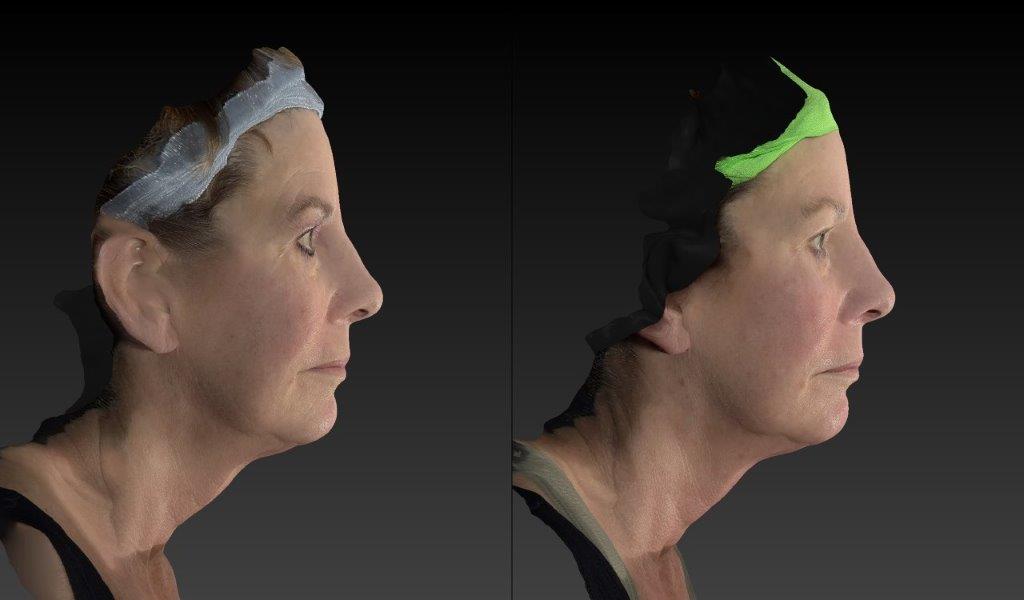
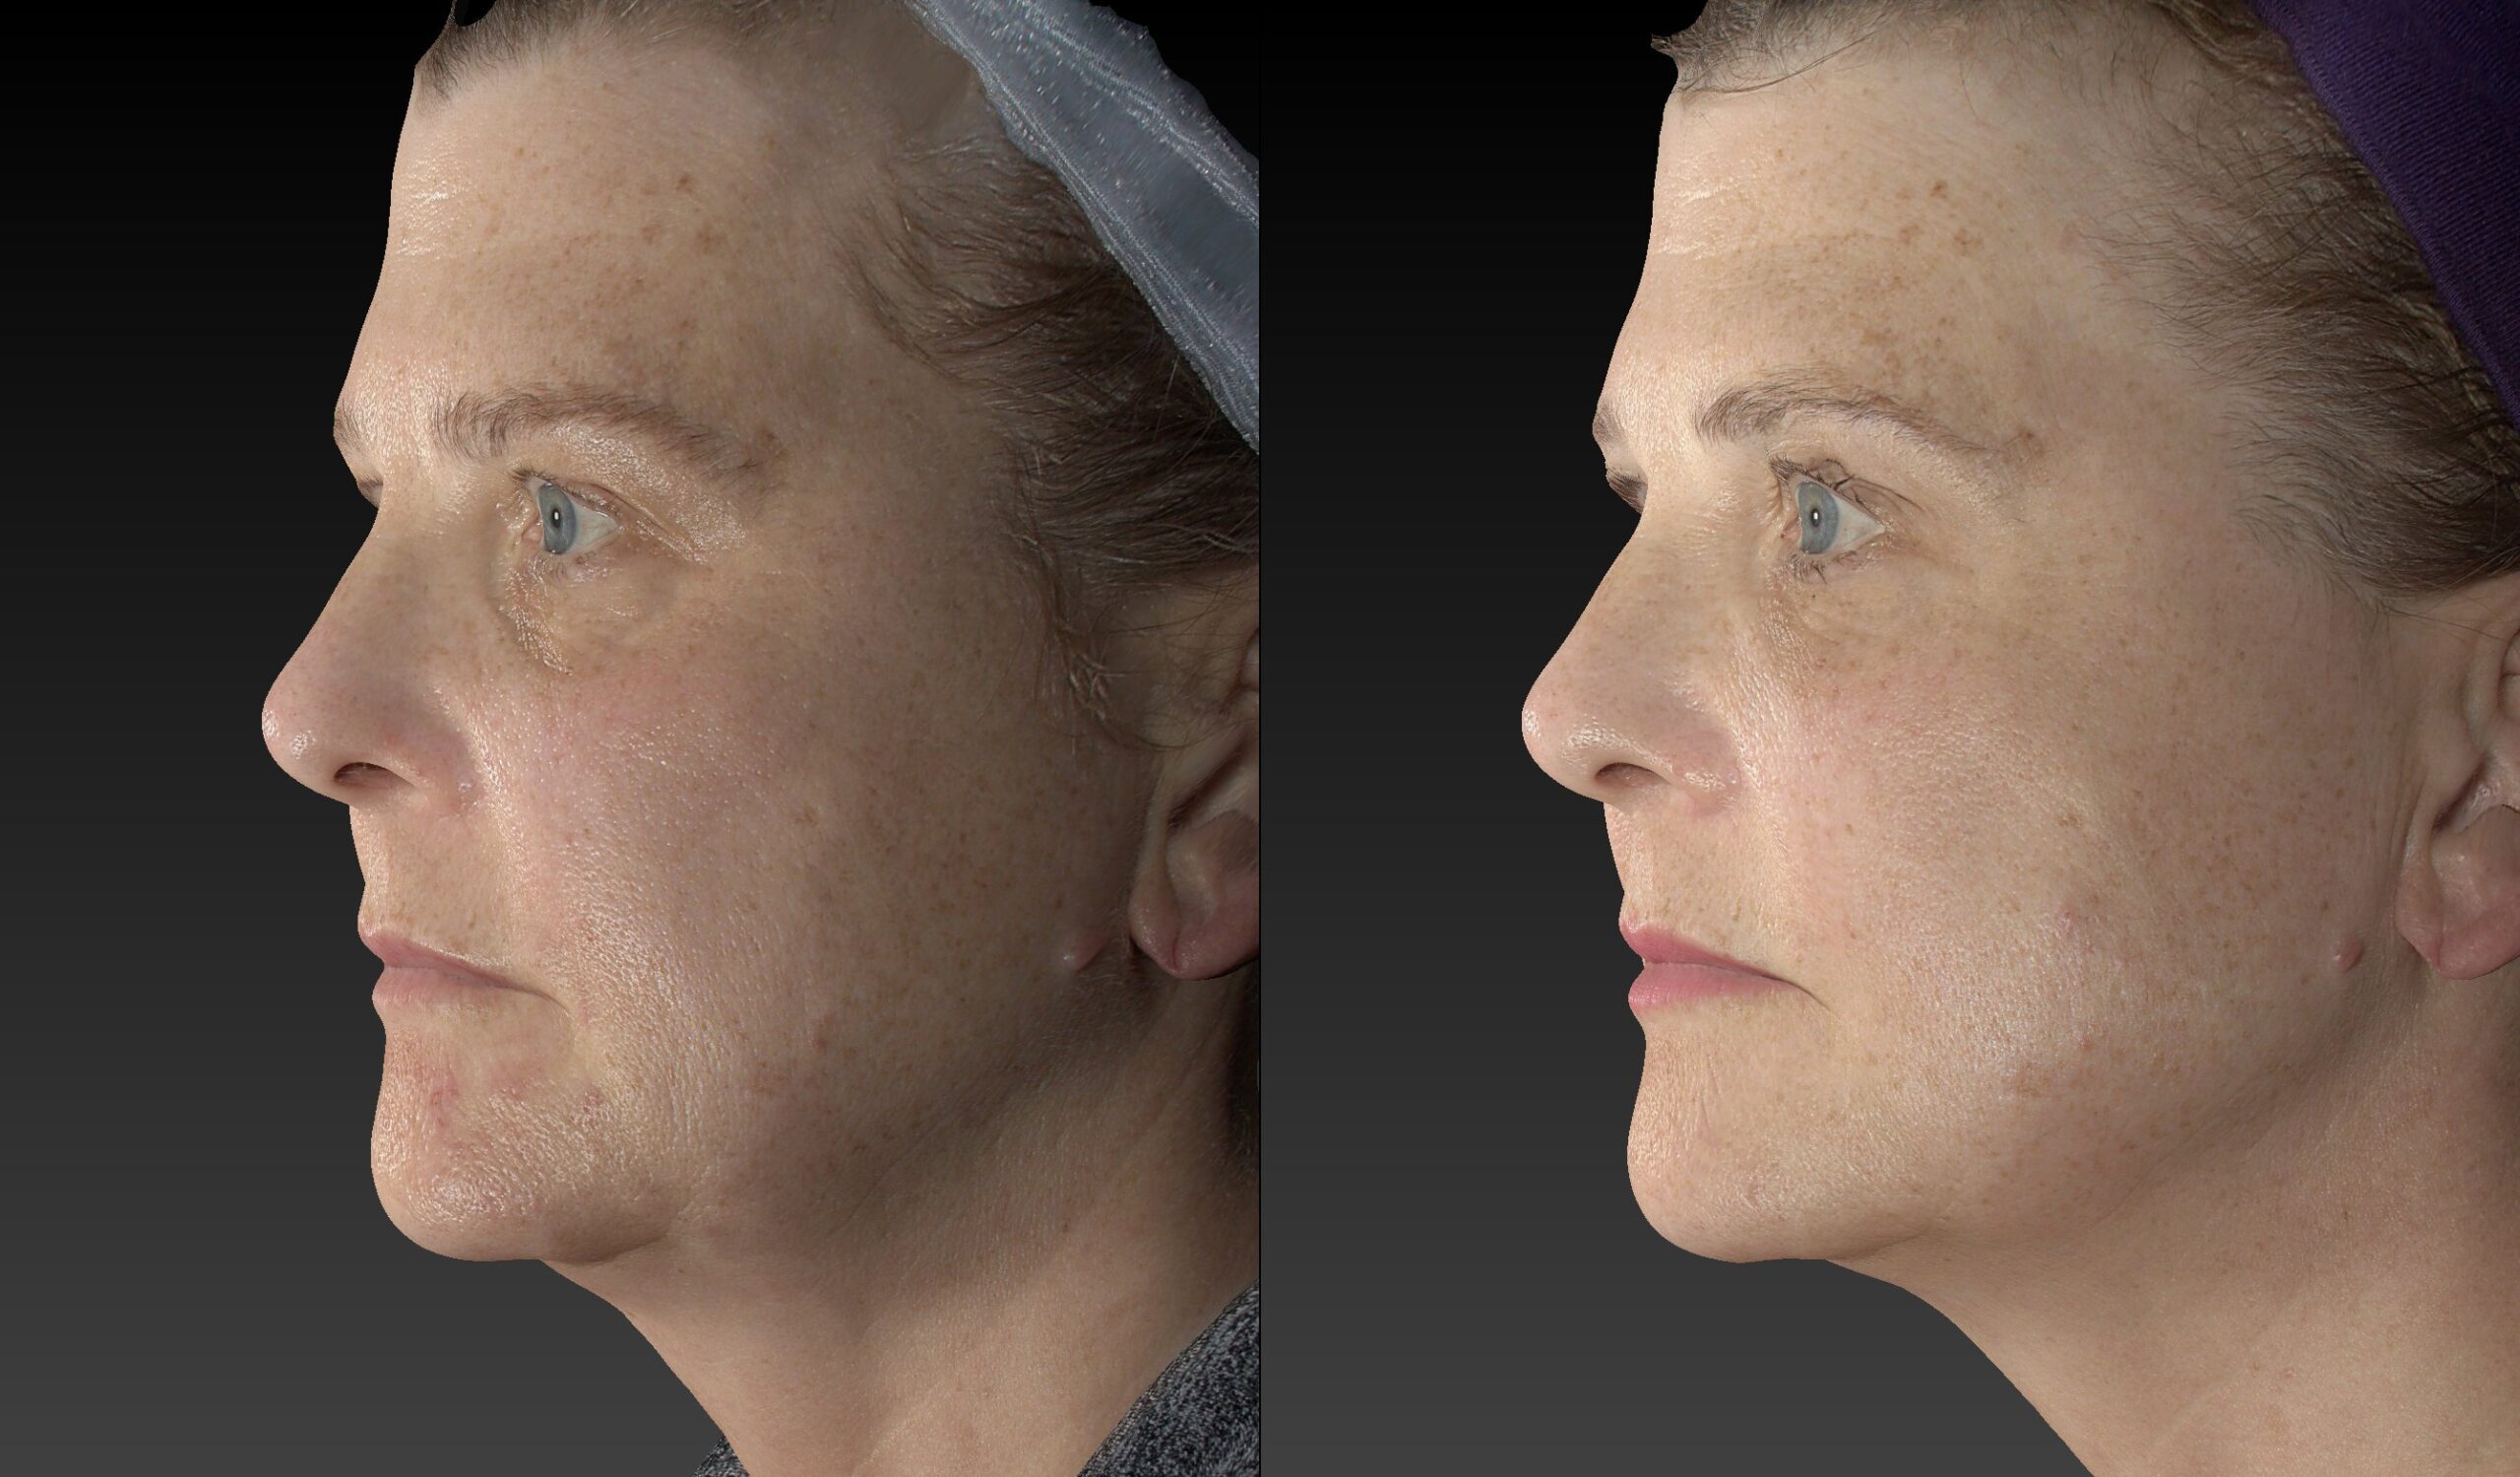
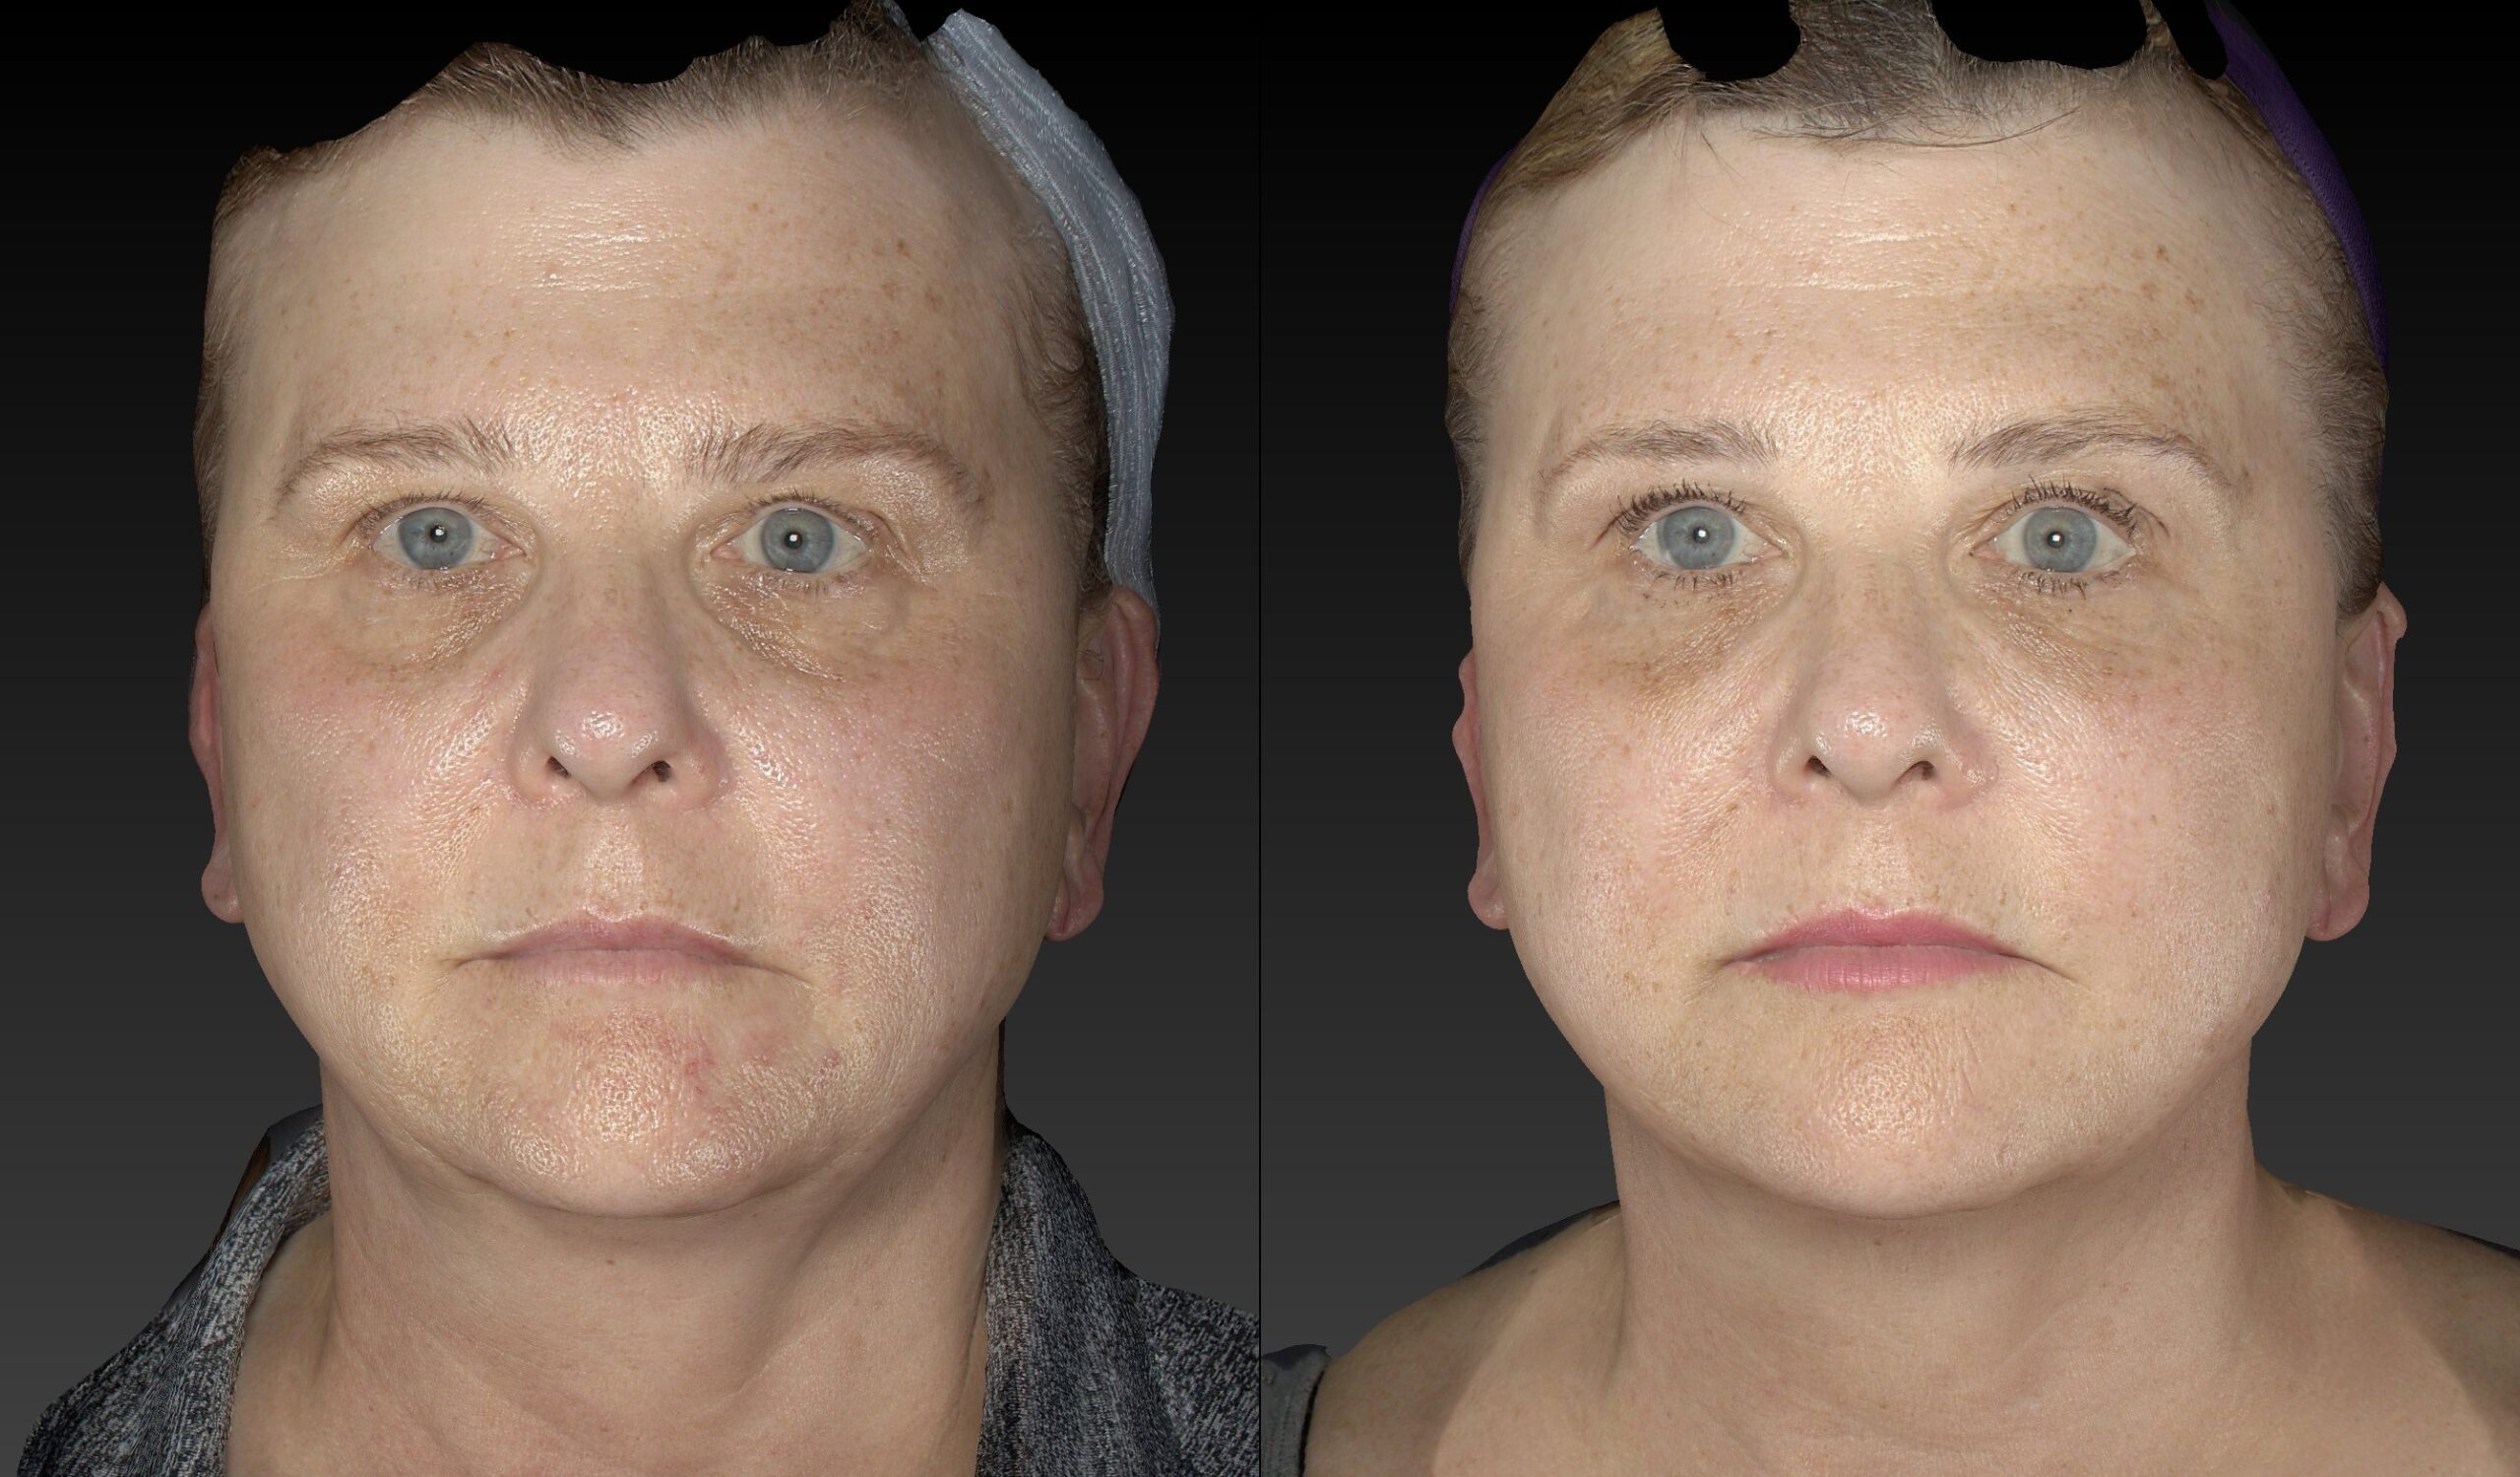
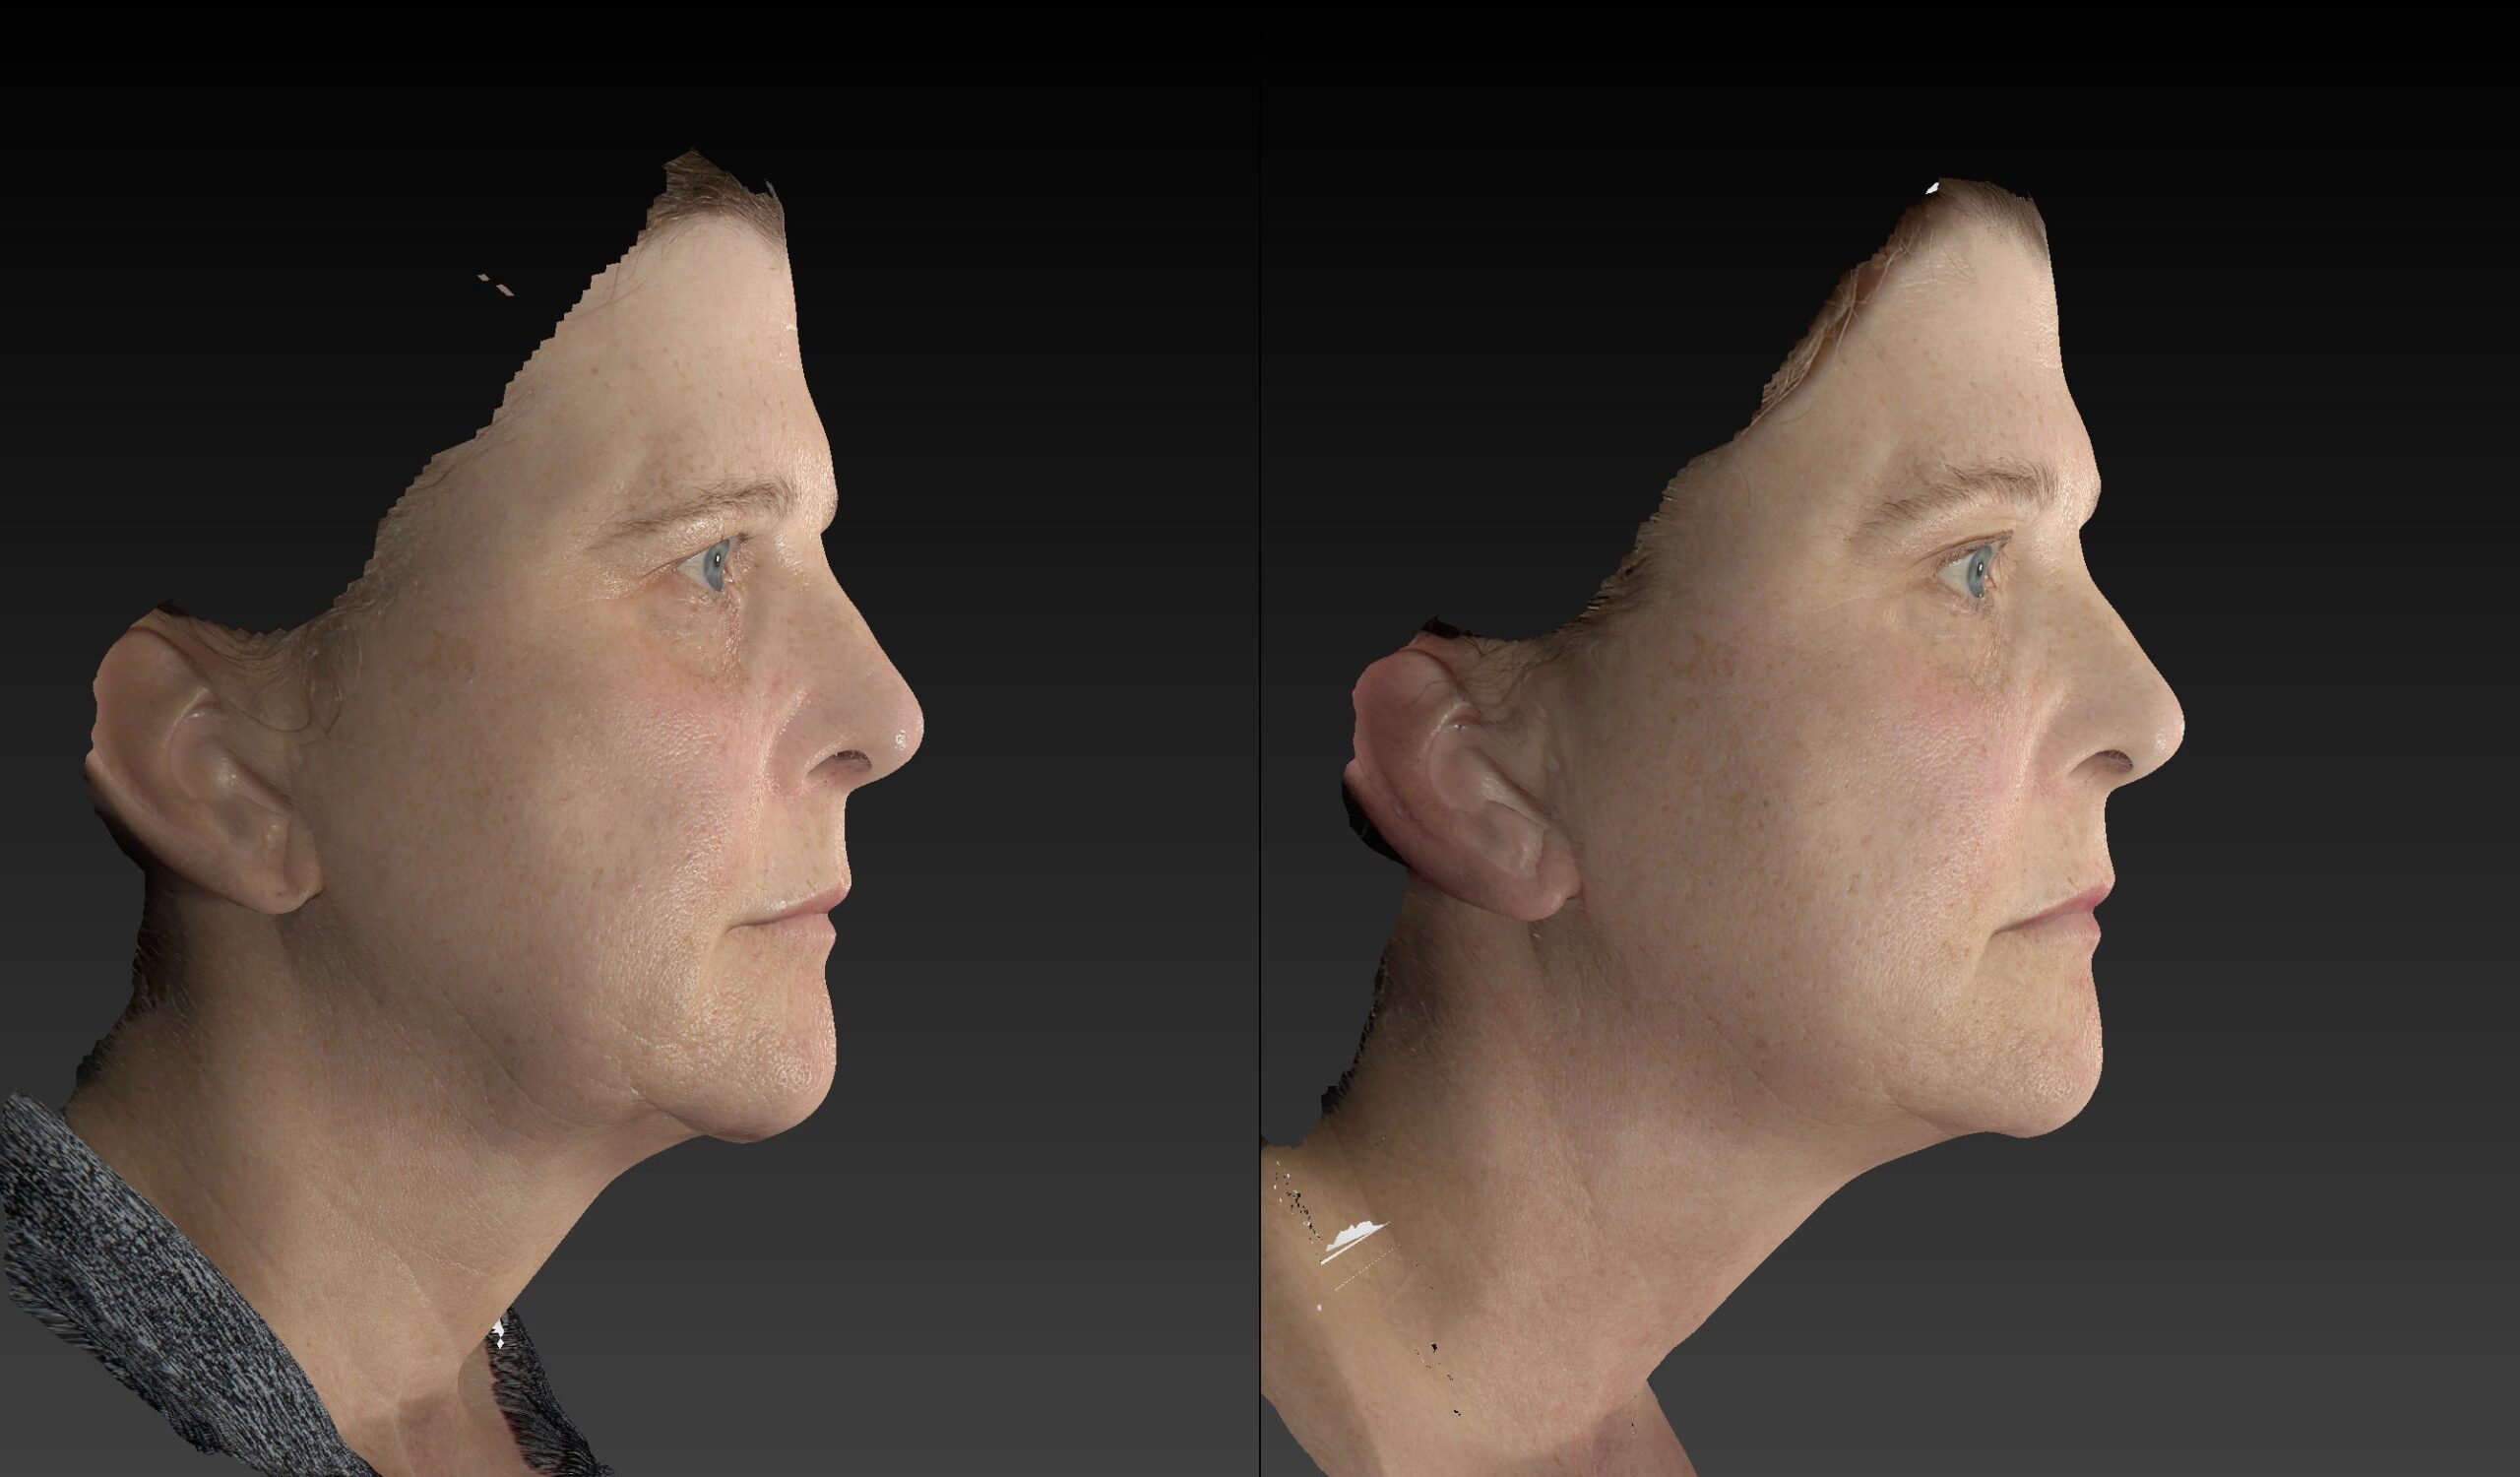
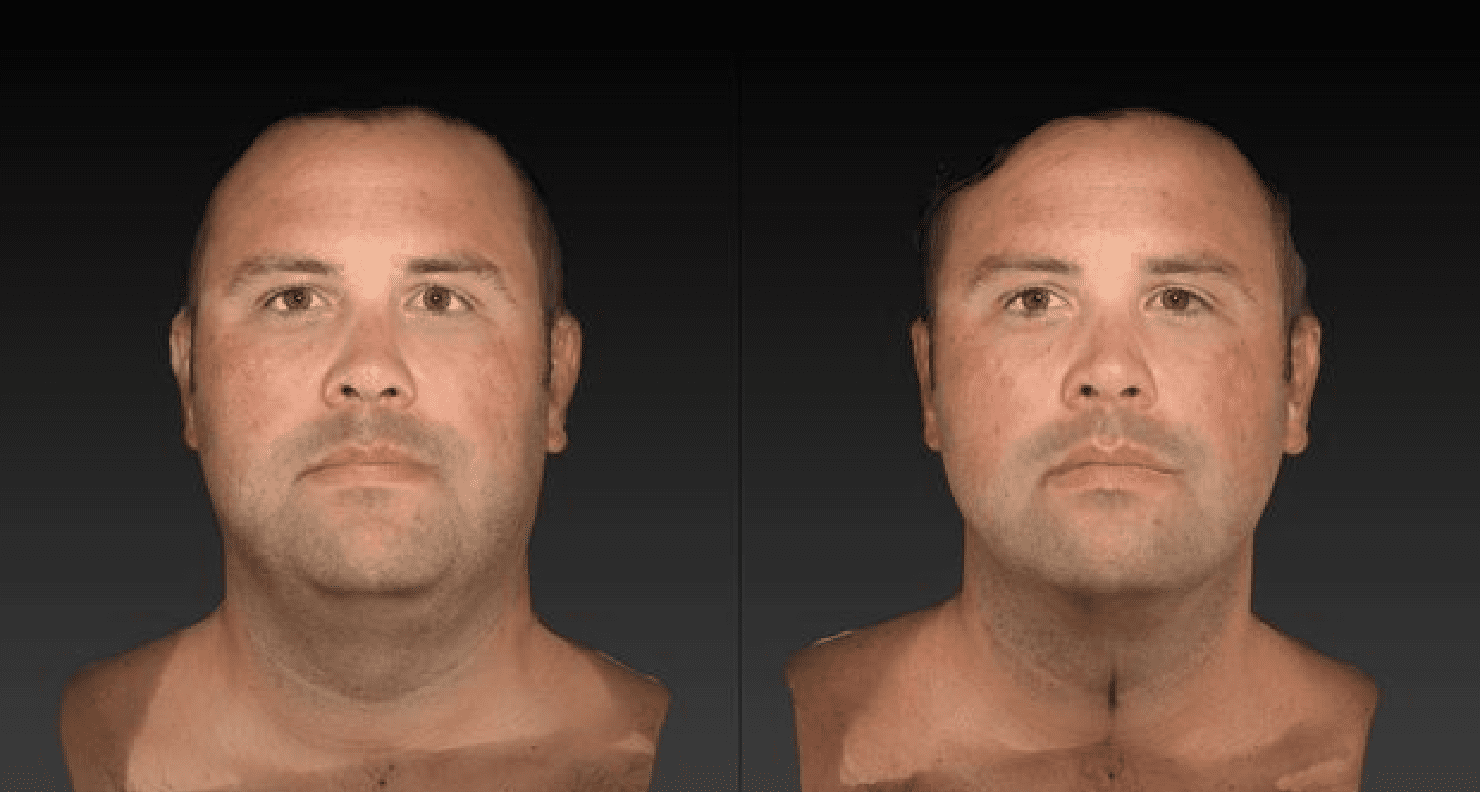
- Face
-
- Face
-
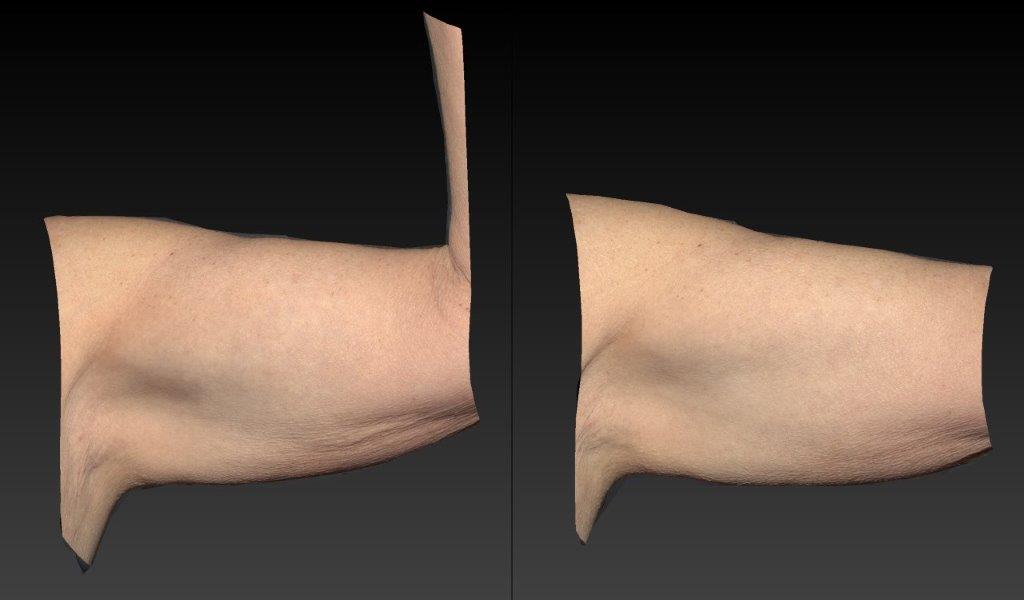
- Arms
-
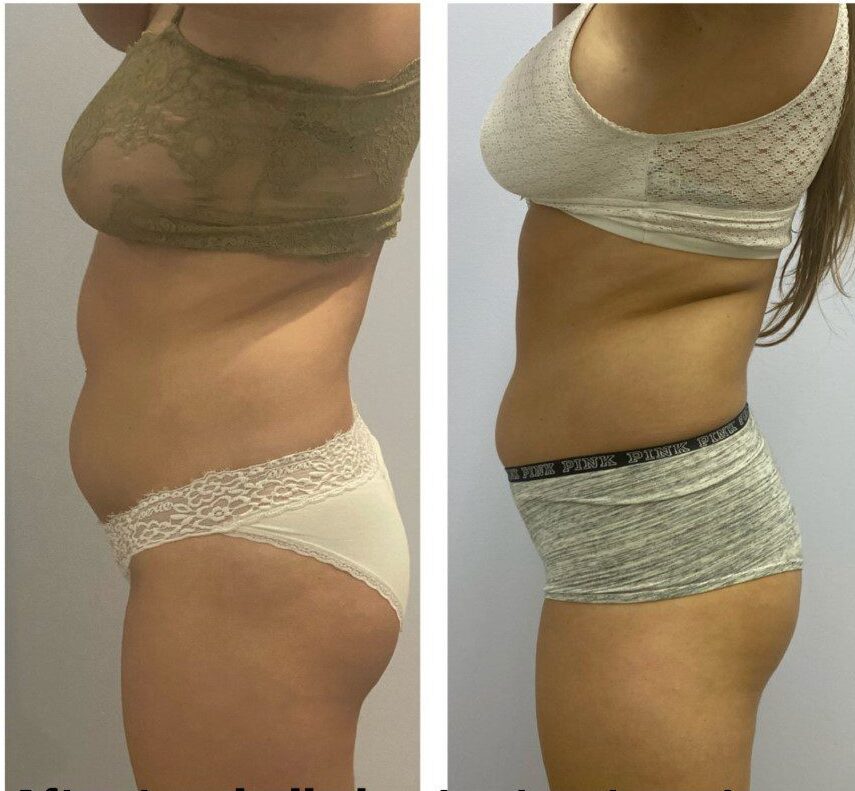
- Belly


-
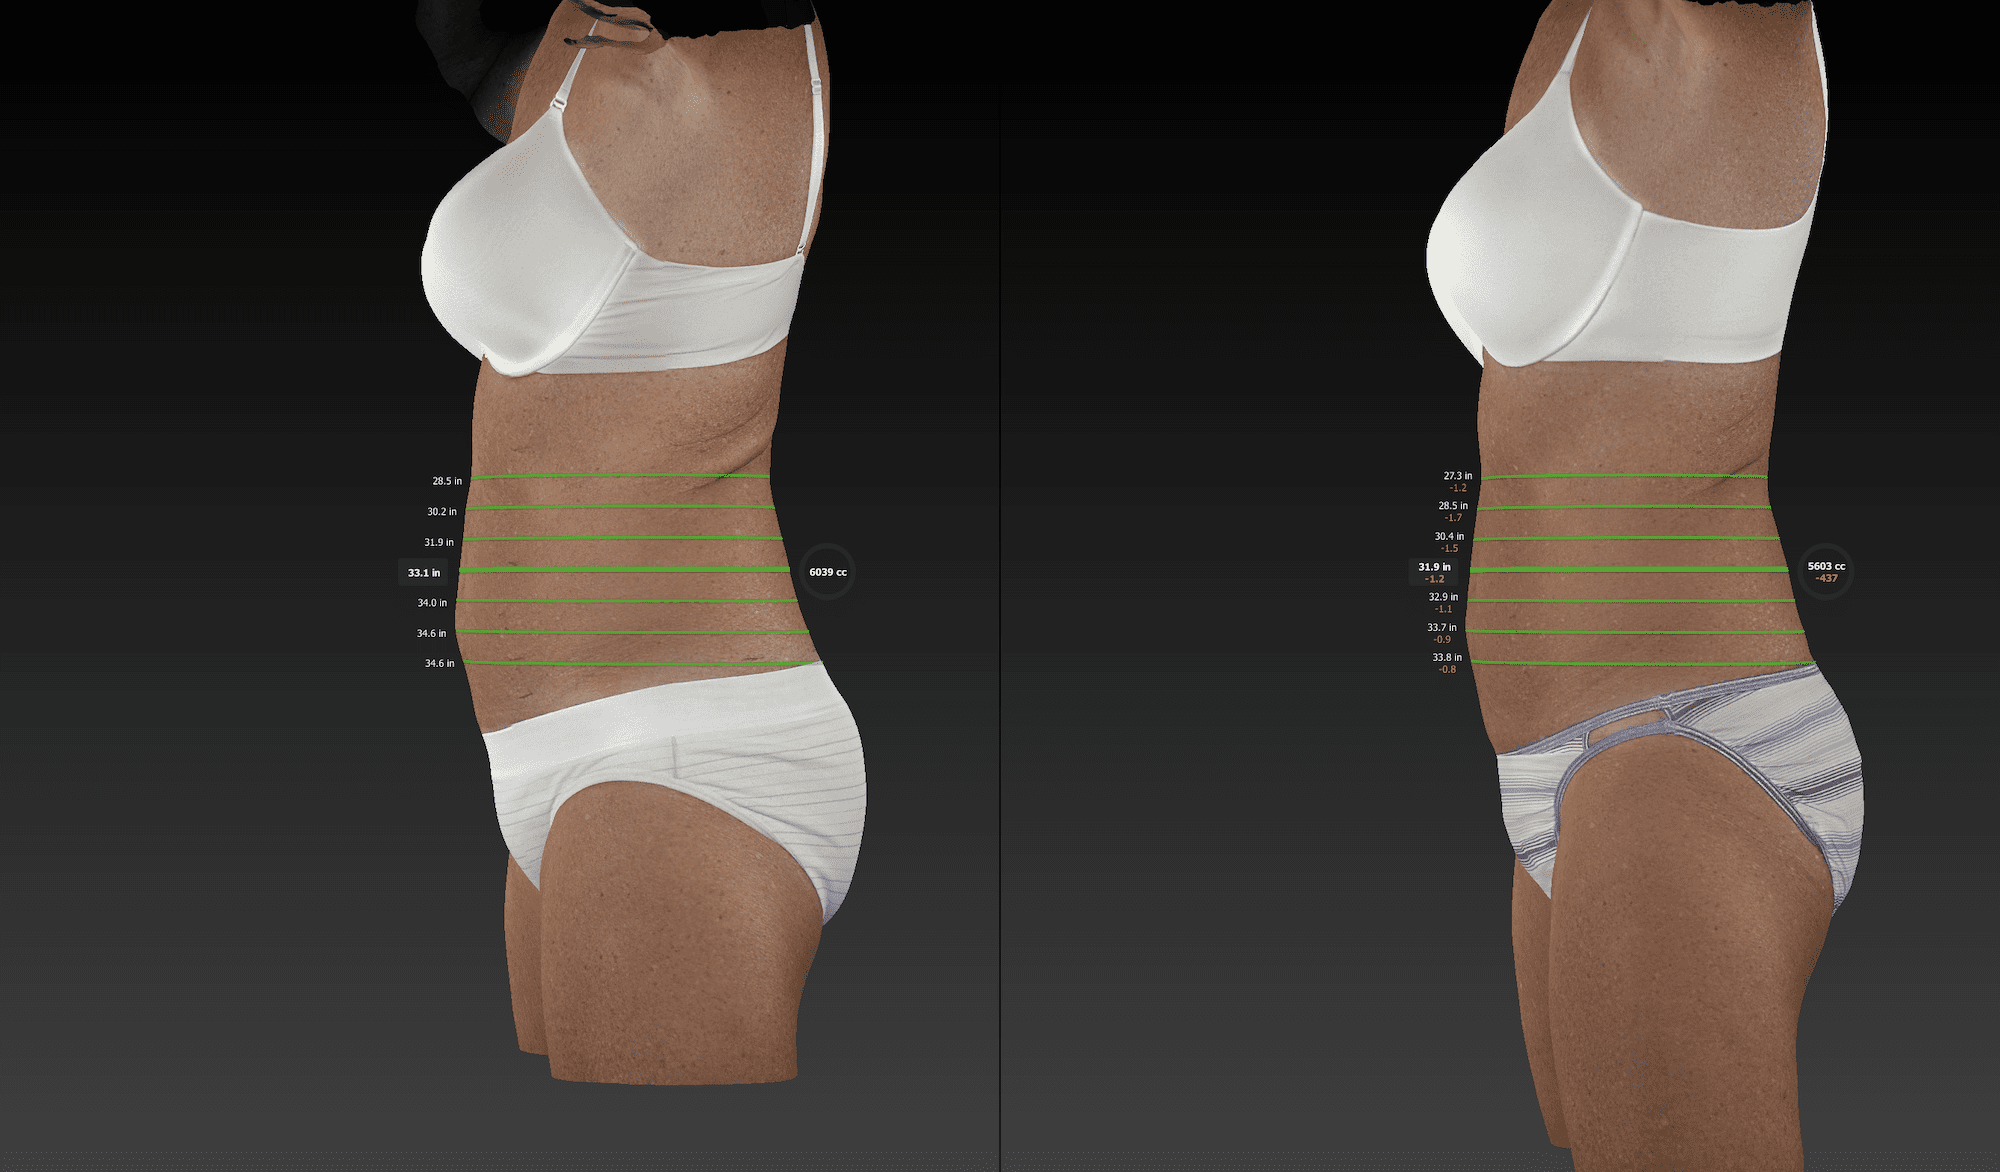
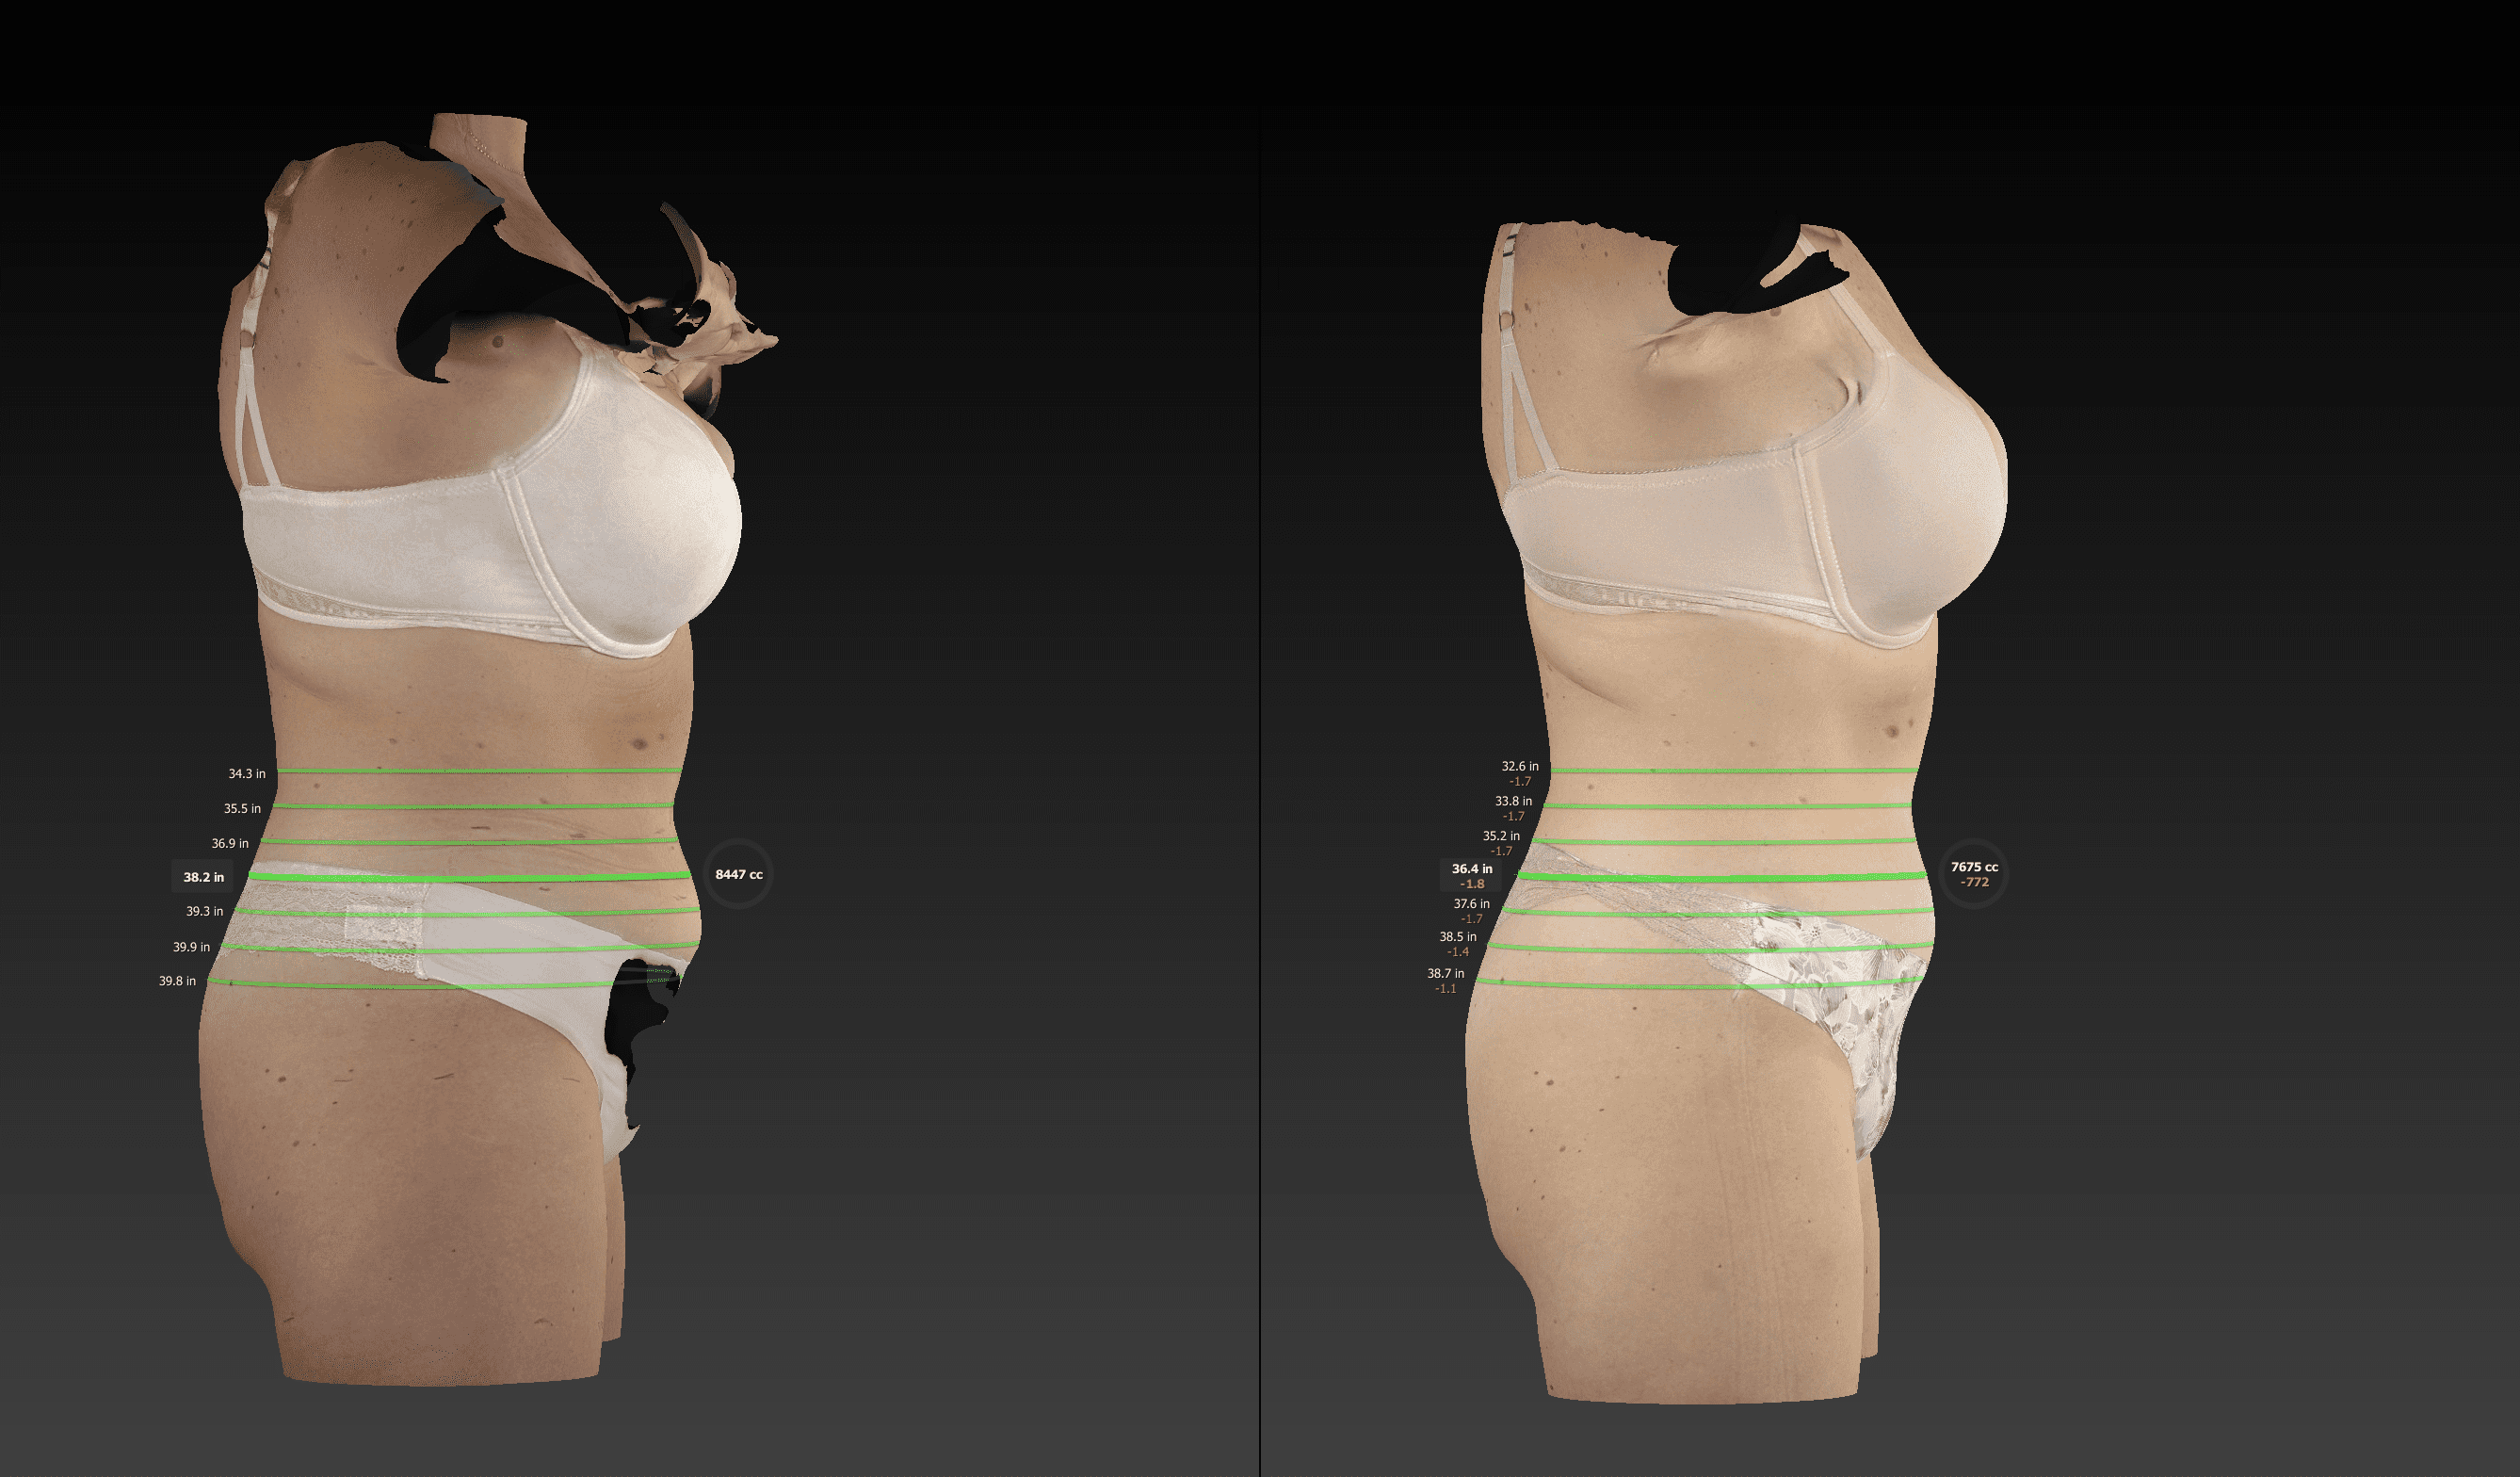
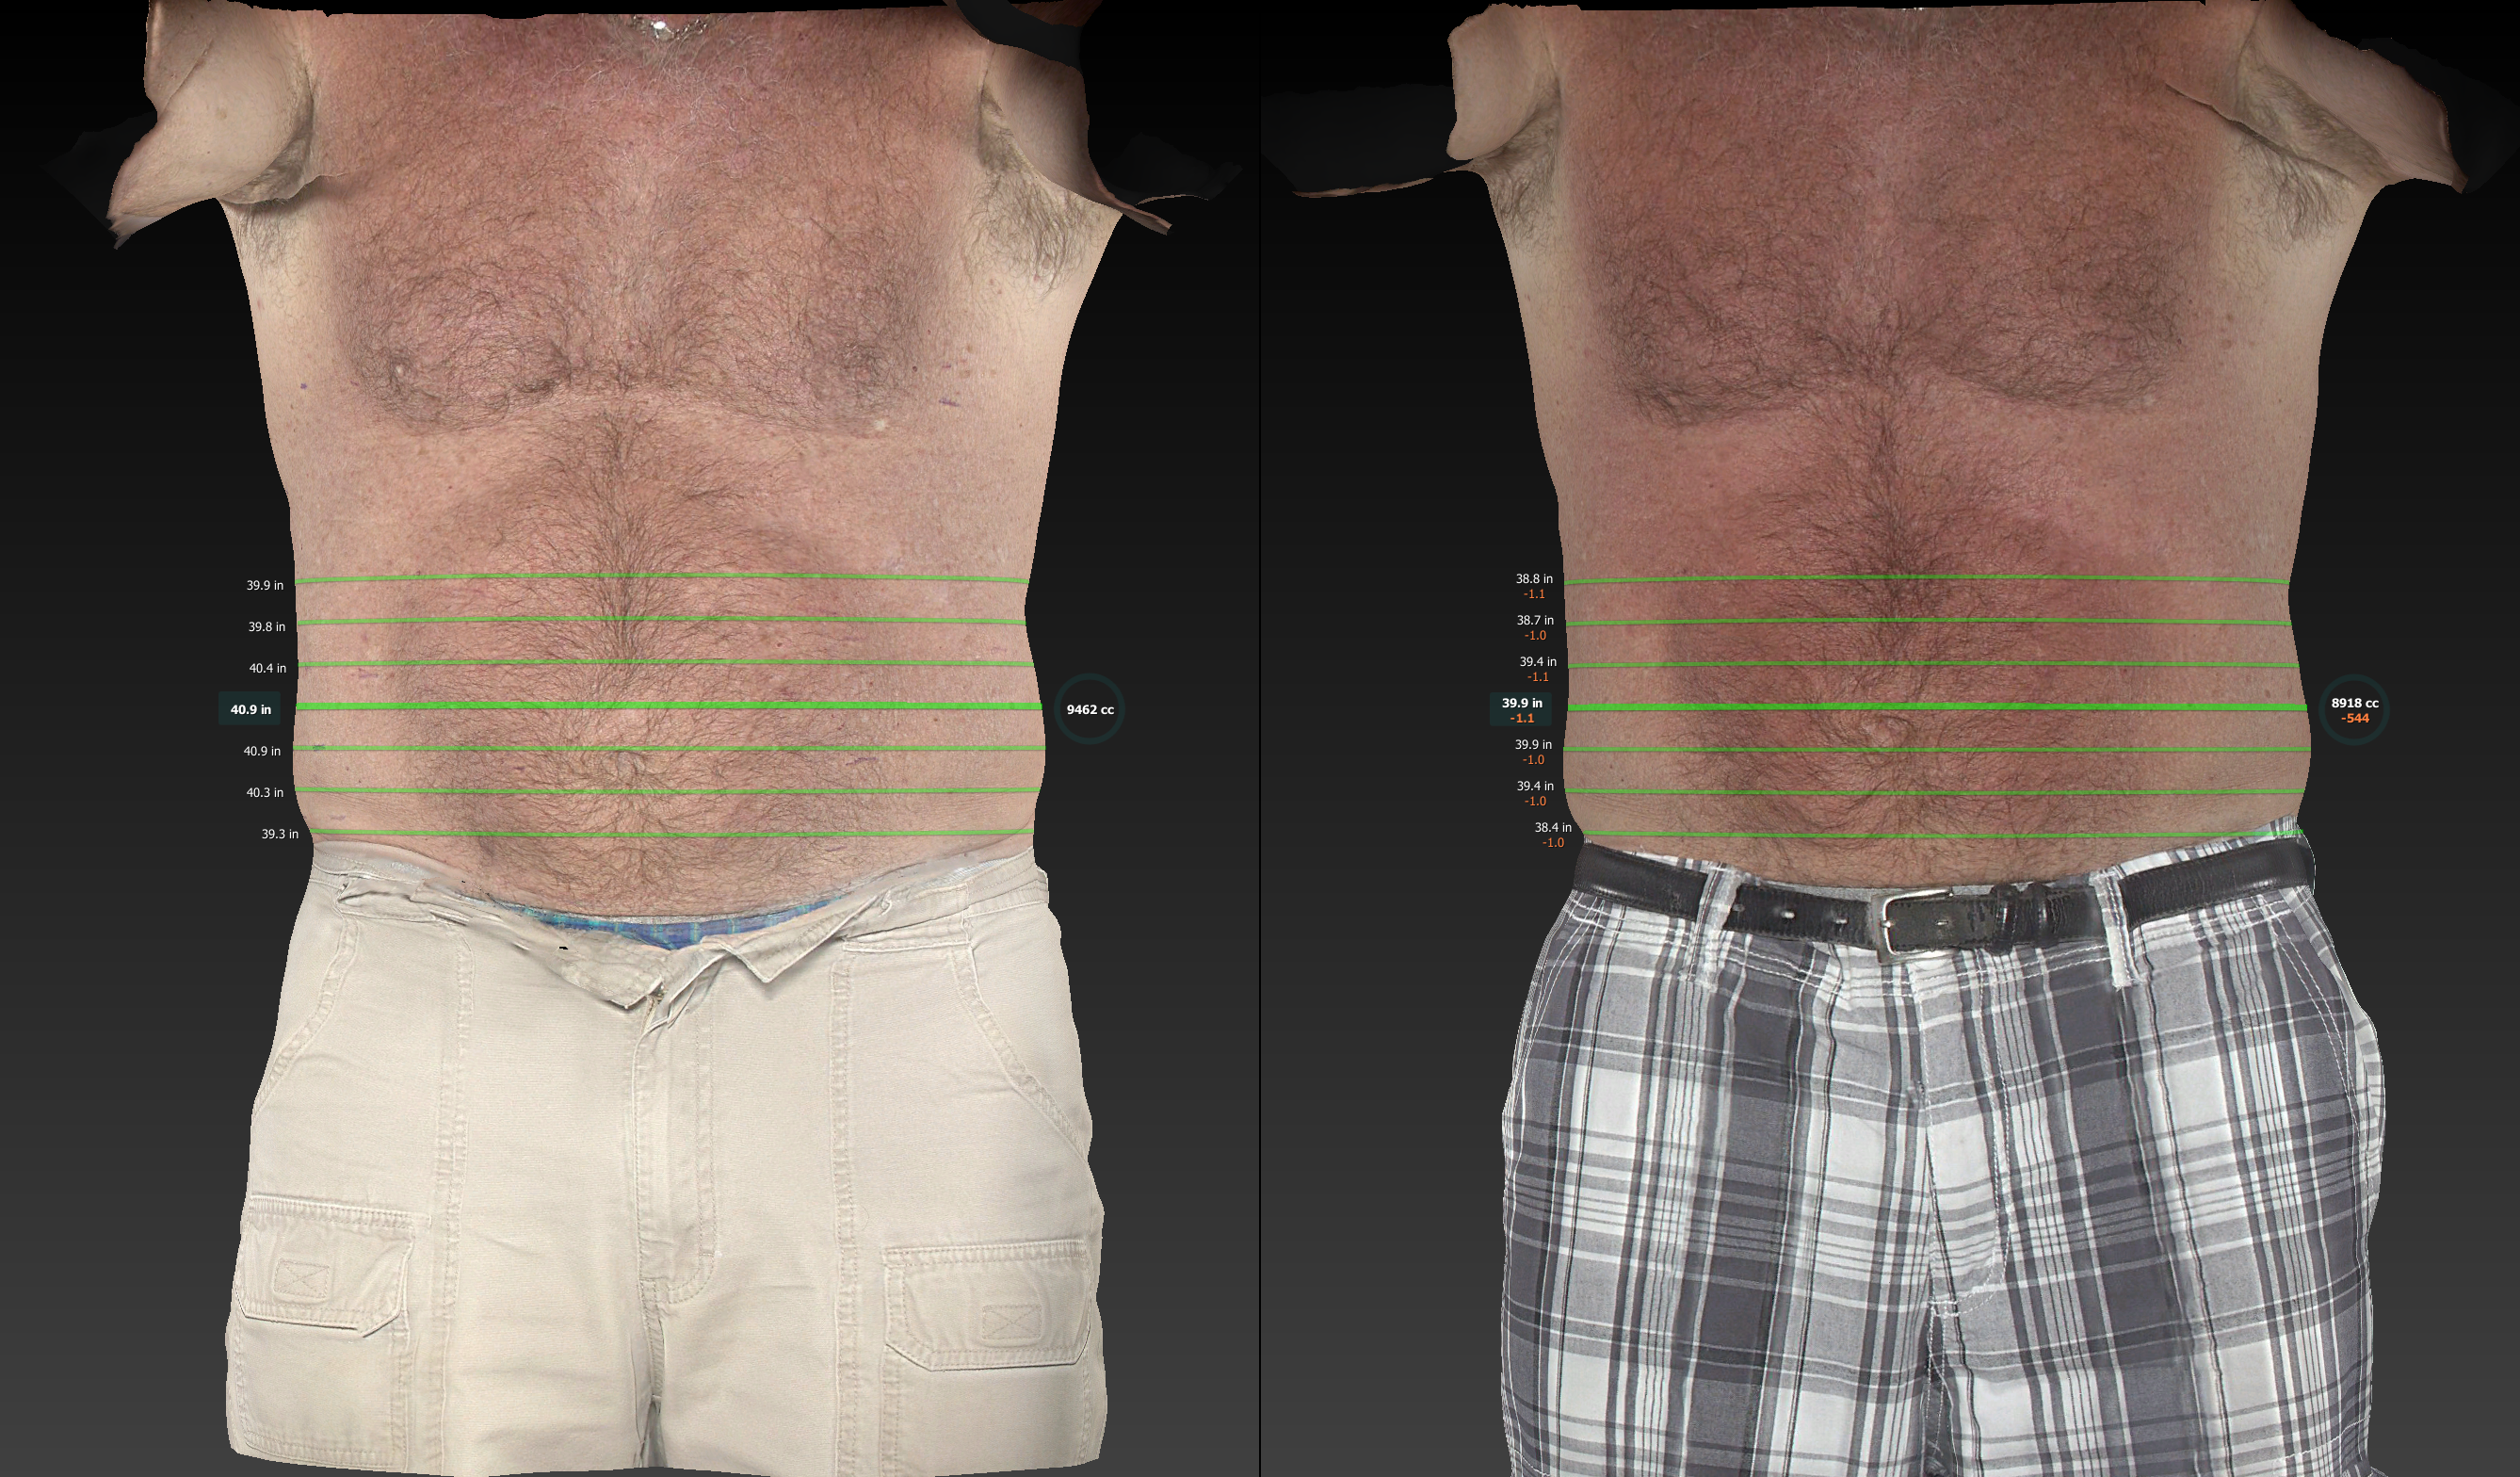
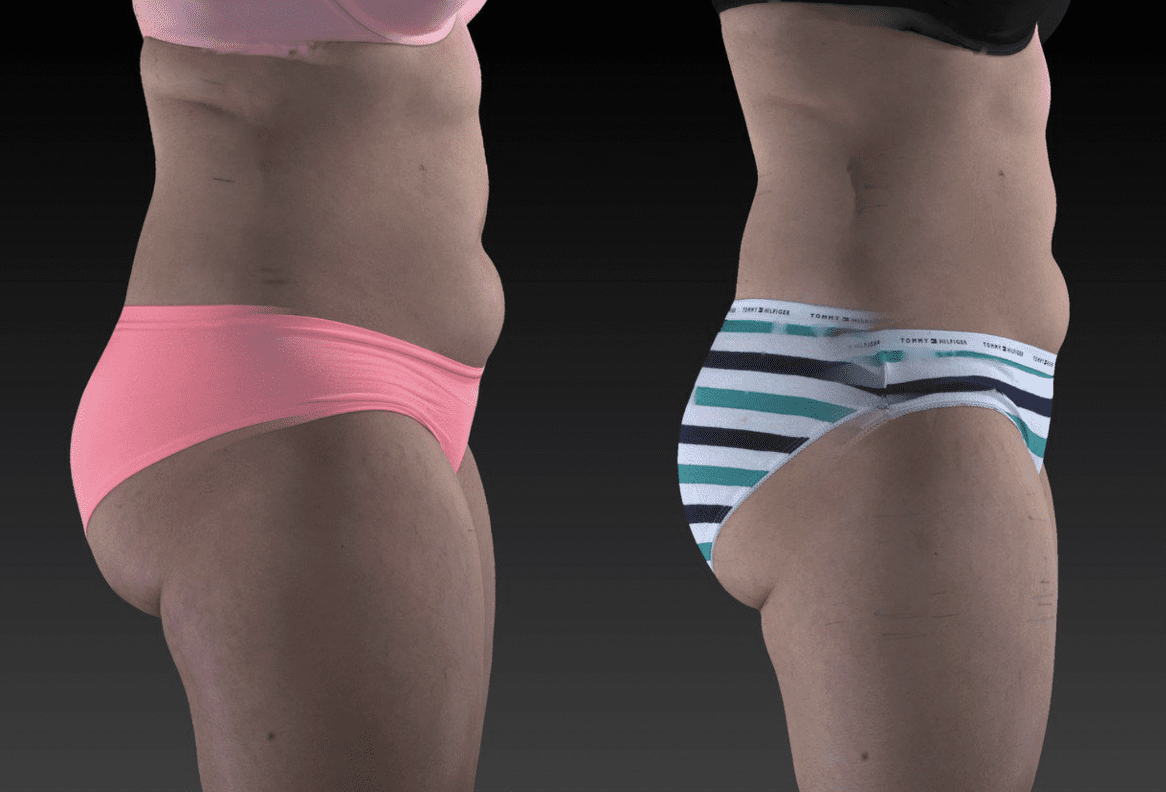
- Belly and midsection
-
- Belly and midsection

-
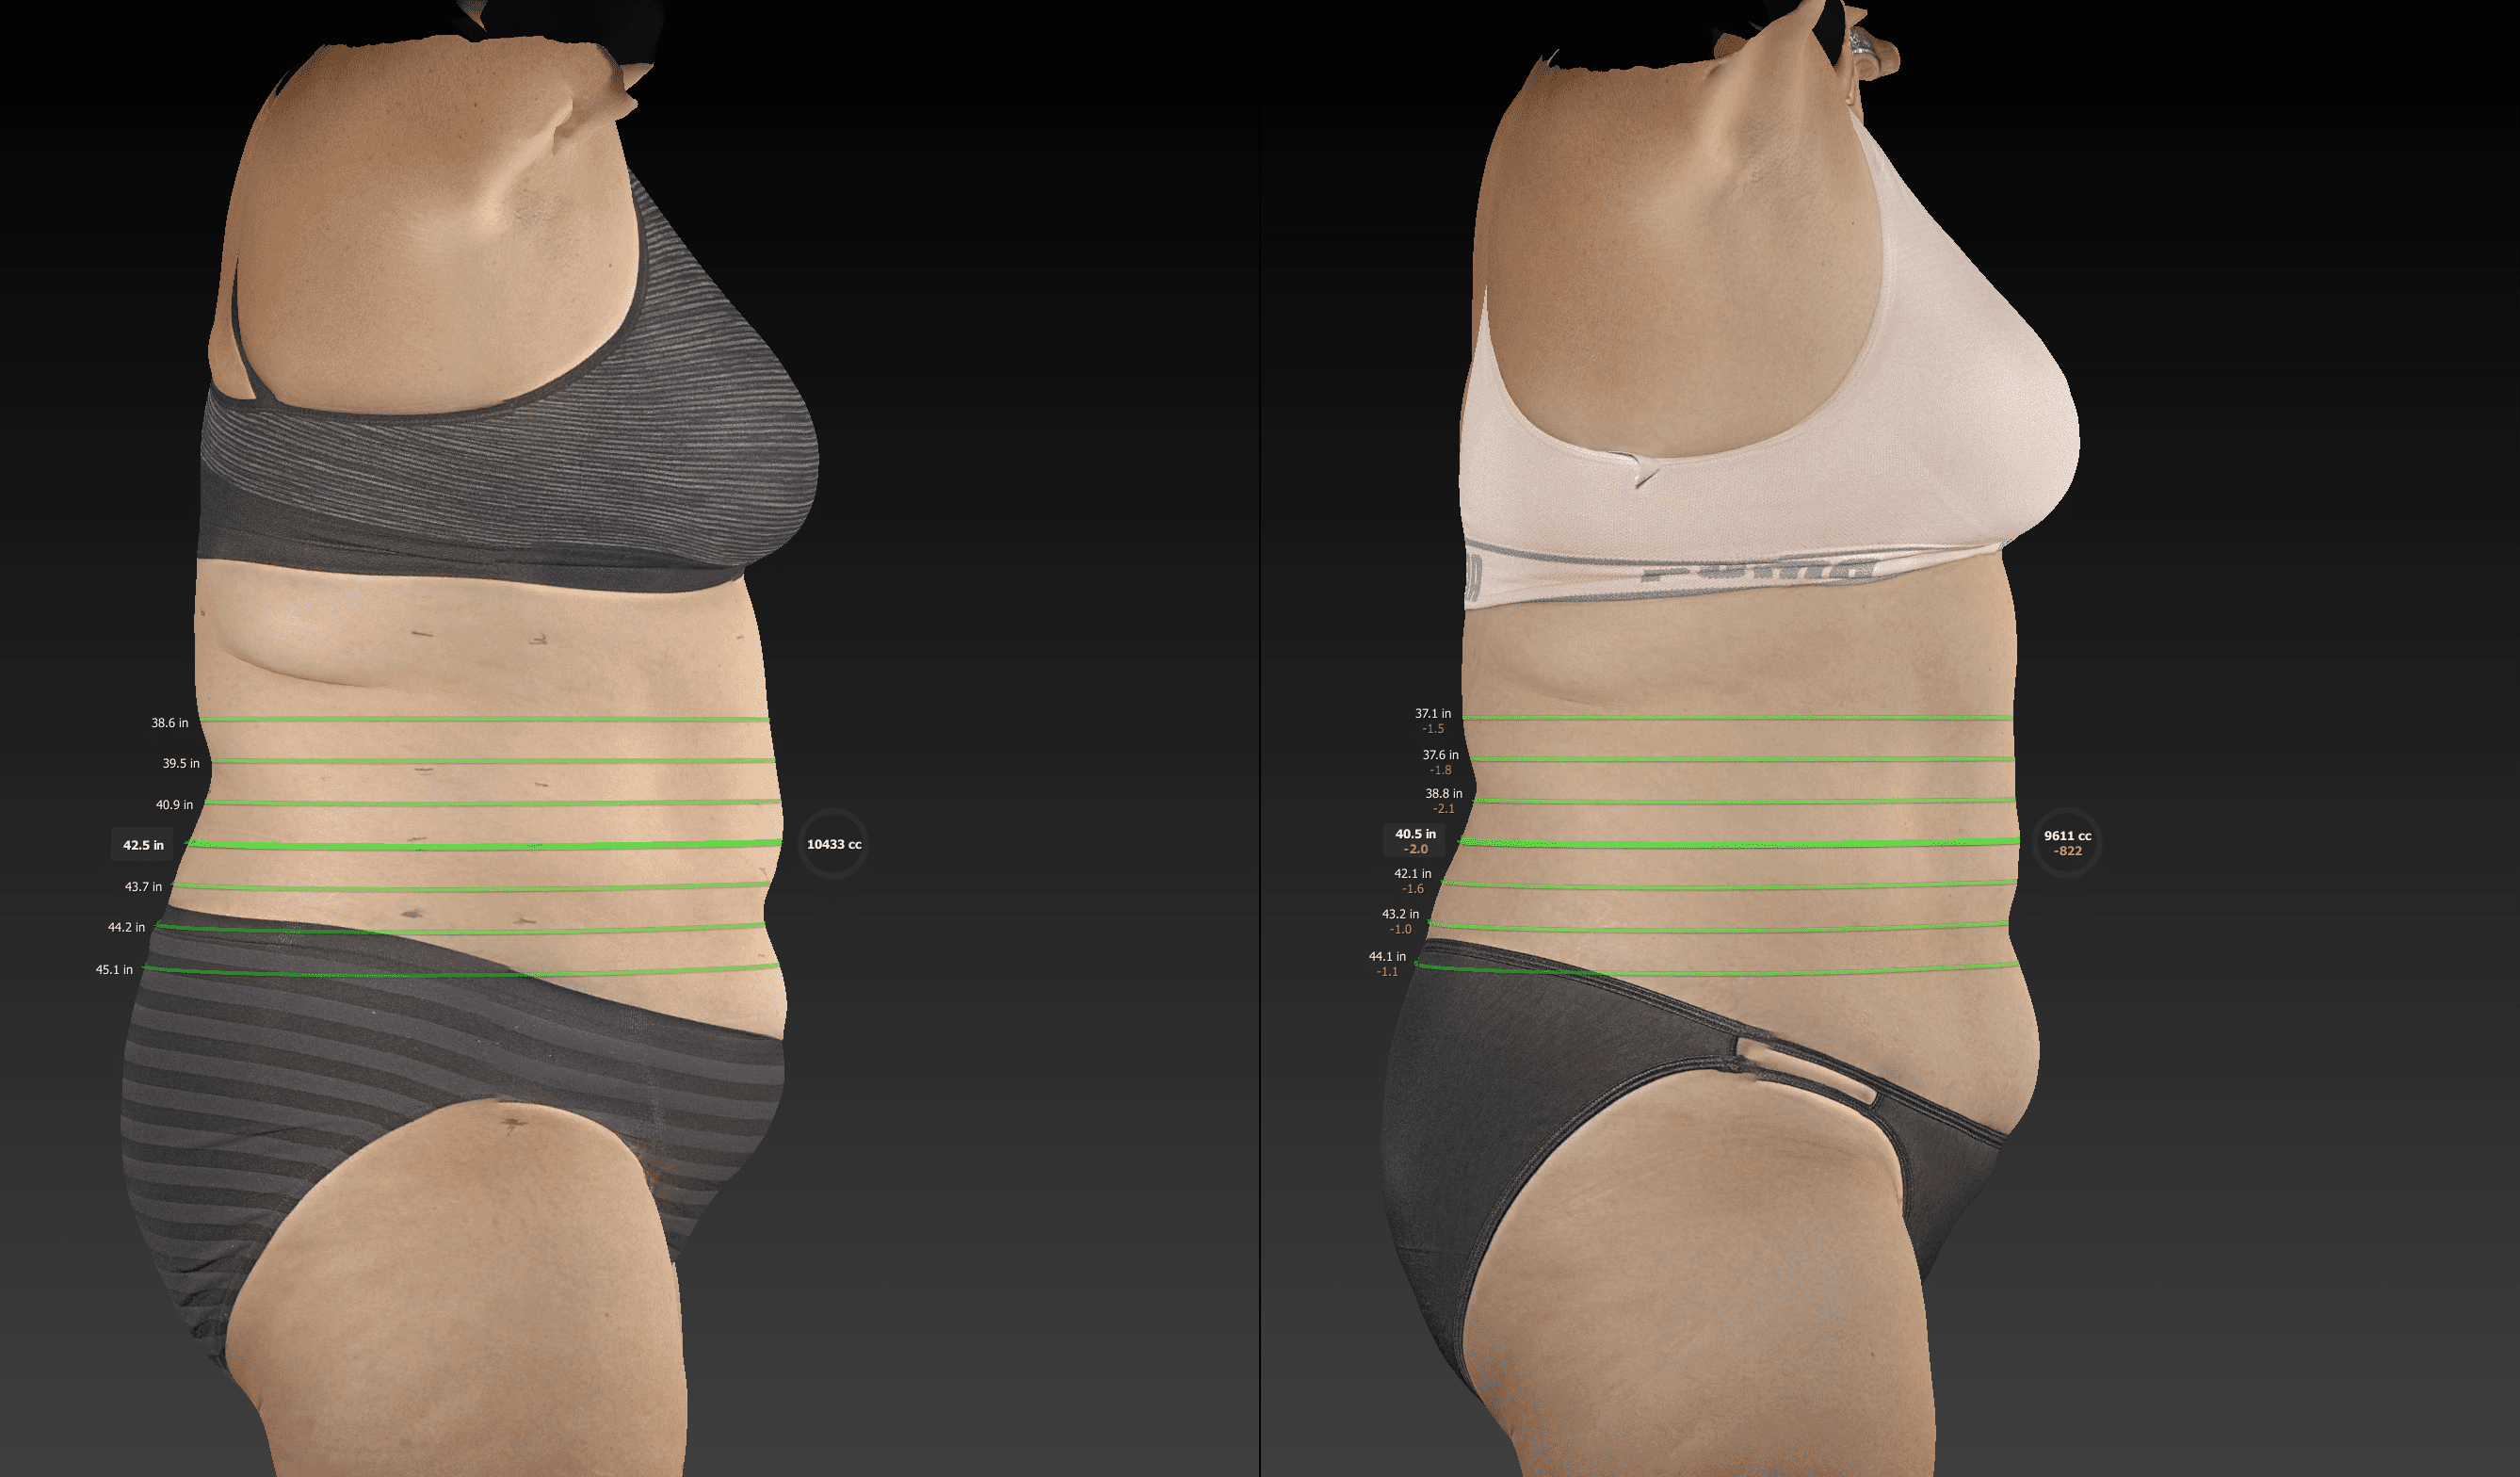
- Belly and midsection

-
- Belly and midsection
-
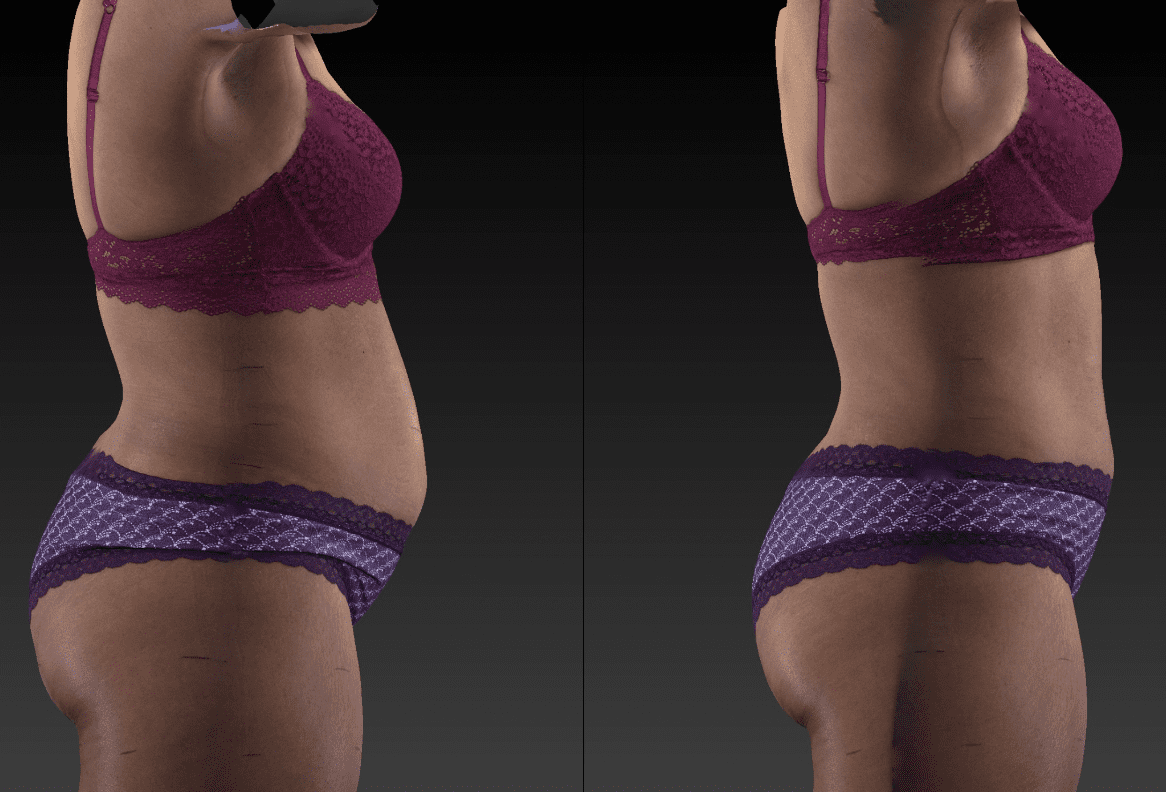
- Belly and midsection

-
- Belly and midsection

-
- Belly and midsection